
Installation Guides
Step-by-step guides for common home improvement projects. Know when to DIY and when to call our team.
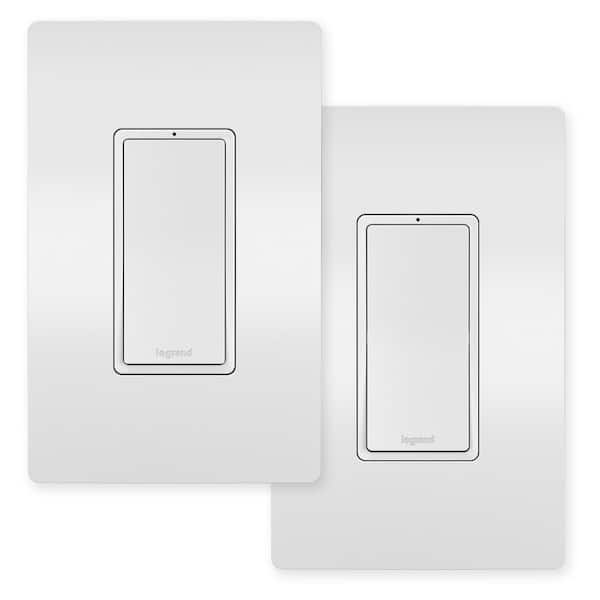
How to Replace a 3-Way Light Switch
Replace an old or faulty 3-way switch to restore multi-location lighting control. Covers both toggle and decorator style switches.
View Full Guide
Steps
- 1Turn off power at the breaker panel and verify with a voltage tester
- 2Remove the existing switch cover plate and unscrew the switch from the box
- 3Take a photo of the existing wiring before disconnecting anything
- 4Identify the common terminal (usually a different color screw) and the two traveler wires
- 5Connect wires to the new switch — common wire to common terminal, travelers to brass screws
- 6Connect the ground wire to the green screw
- 7Carefully fold wires back into the box and mount the new switch
- 8Install the cover plate, restore power, and test from both switch locations
Products You'll Need
Always use a voltage tester — never assume power is off. Label wires with tape if you're replacing multiple switches at once.
If you find aluminum wiring, signs of scorching, or the wiring doesn't match any standard 3-way configuration, stop and call a licensed electrician.
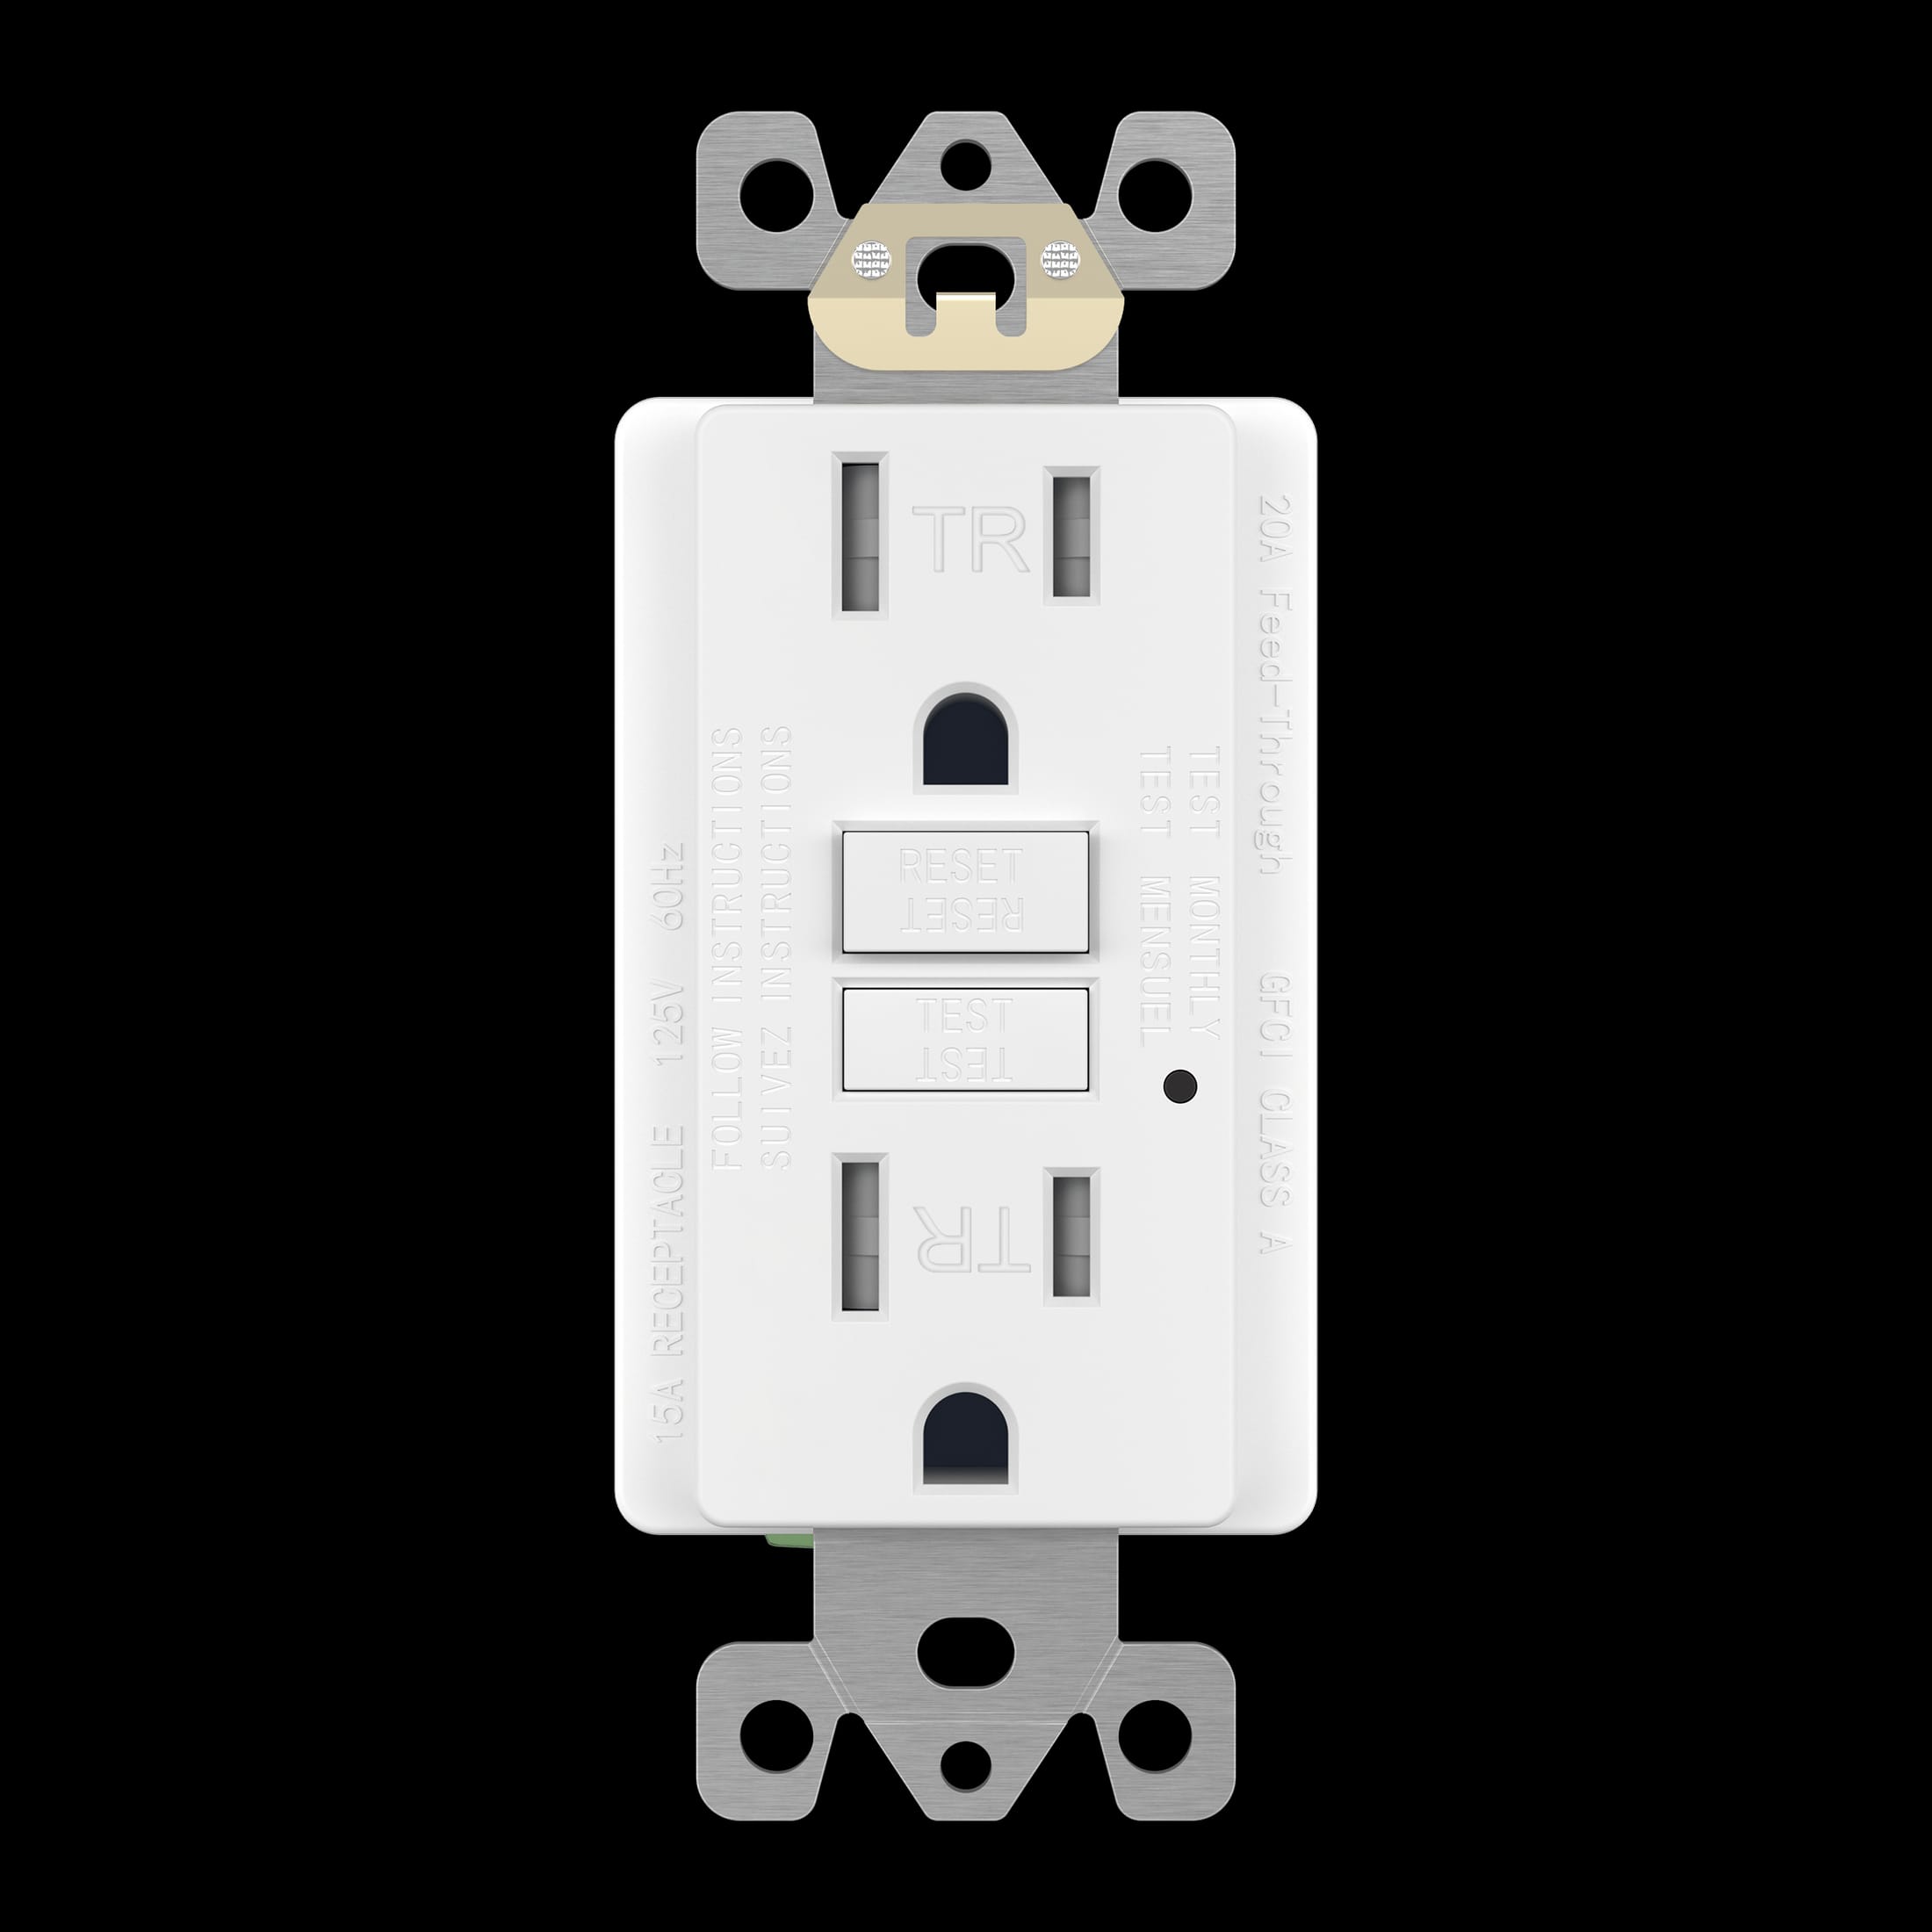
How to Install a GFCI Outlet
Upgrade standard outlets to GFCI protection in kitchens, bathrooms, and garages. Required by code in wet locations.
View Full Guide
Steps
- 1Turn off power at the breaker and verify the outlet is dead with a voltage tester
- 2Remove the old outlet cover plate and unscrew the receptacle
- 3Identify LINE wires (from breaker) vs LOAD wires (to downstream outlets)
- 4Connect LINE wires to the LINE terminals on the GFCI (marked on back)
- 5Connect LOAD wires to LOAD terminals if protecting downstream outlets
- 6Connect ground wire to green screw
- 7Mount the GFCI, install the cover plate, and restore power
- 8Press the TEST button to verify — the RESET button should pop out
Products You'll Need
One GFCI outlet can protect all downstream outlets on the same circuit. Wire them to the LOAD terminals to extend protection.
If the outlet box has more than 4 wires, if you're unsure which are LINE vs LOAD, or if the GFCI won't reset after installation.
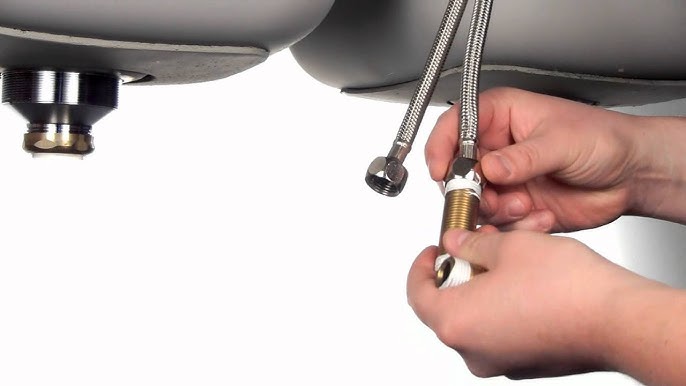
How to Replace a Kitchen Faucet
Swap out an old kitchen faucet for a modern pull-down or touchless model. Most homeowners can do this with basic tools.
View Full Guide
Steps
- 1Turn off hot and cold water supply valves under the sink
- 2Disconnect supply lines from the old faucet using an adjustable wrench
- 3Remove the mounting nuts holding the old faucet (a basin wrench helps in tight spaces)
- 4Clean the sink surface where the old faucet sat
- 5Drop the new faucet through the mounting holes and hand-tighten from below
- 6Connect supply lines — hand-tight plus a quarter turn with a wrench
- 7Connect the sprayer hose if applicable
- 8Turn on supply valves and check for leaks at every connection
Products You'll Need
Put a bucket under the connections before turning water back on. Even small leaks are easier to catch with a dry bucket.
If supply valves are corroded and won't turn, if you find galvanized or lead pipes, or if mounting holes don't match your new faucet.
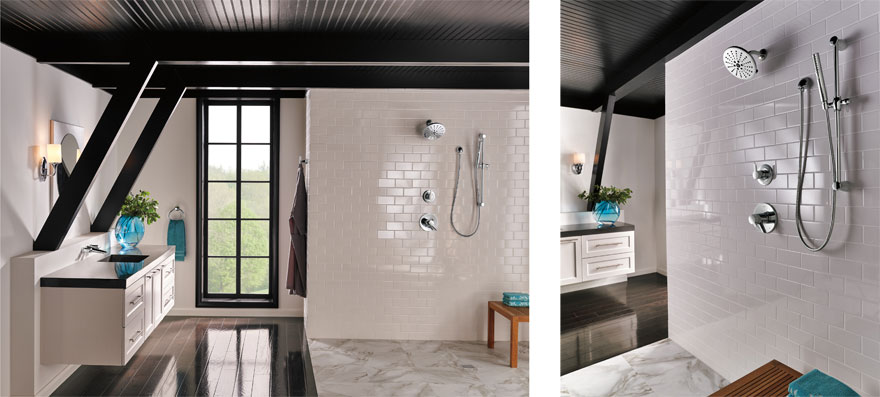
How to Replace a Showerhead
The easiest plumbing upgrade in your home. No tools required for most models — just hand-tighten and enjoy better water pressure.
View Full Guide
Steps
- 1Unscrew the old showerhead by turning it counter-clockwise (use a cloth for grip)
- 2Clean old thread tape or buildup from the shower arm threads
- 3Wrap 3-4 layers of Teflon tape clockwise around the threads
- 4Hand-screw the new showerhead onto the arm — snug plus a half turn
- 5Turn on the water and check for leaks at the connection
- 6Adjust spray pattern and enjoy
Products You'll Need
Never use pliers directly on chrome fixtures — always wrap with a cloth first. Teflon tape should wrap in the same direction you screw on the head.
If the shower arm is corroded and breaks off in the wall, or if you want to move the showerhead to a different height.
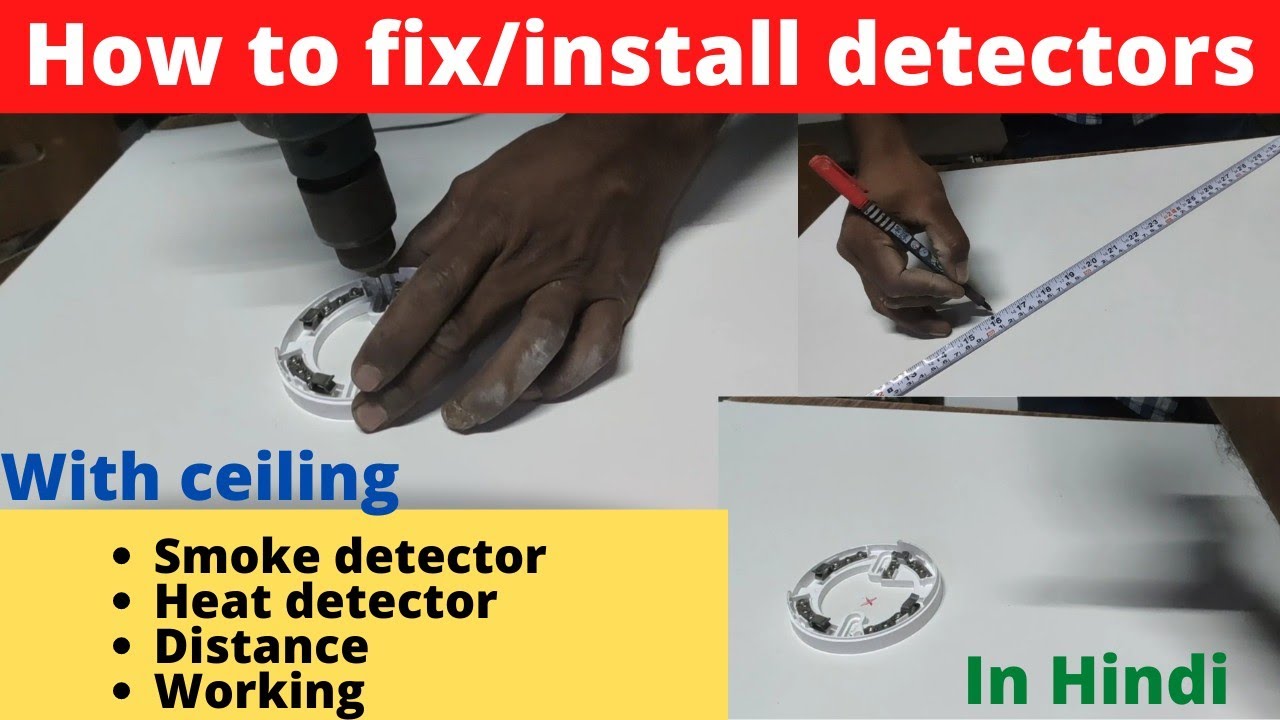
How to Replace Smoke & CO Detectors
Smoke detectors expire after 10 years. Replace them to keep your family safe and your home insurance-compliant.
View Full Guide
Steps
- 1Check the manufacture date on the back of existing detectors — replace if 10+ years old
- 2Twist the old detector off the mounting plate
- 3If hardwired, disconnect the wiring harness (turn off breaker first)
- 4Attach the new mounting plate using the included screws
- 5Connect the wiring harness to the new detector (if hardwired)
- 6Twist the new detector onto the mounting plate until it clicks
- 7Install batteries and press the test button
Products You'll Need
Florida code requires smoke alarms in every bedroom, outside sleeping areas, and on every floor. CO detectors are required if you have gas appliances.
If you need to run new wiring for interconnected alarms, or if your home has no existing hardwired detector system.
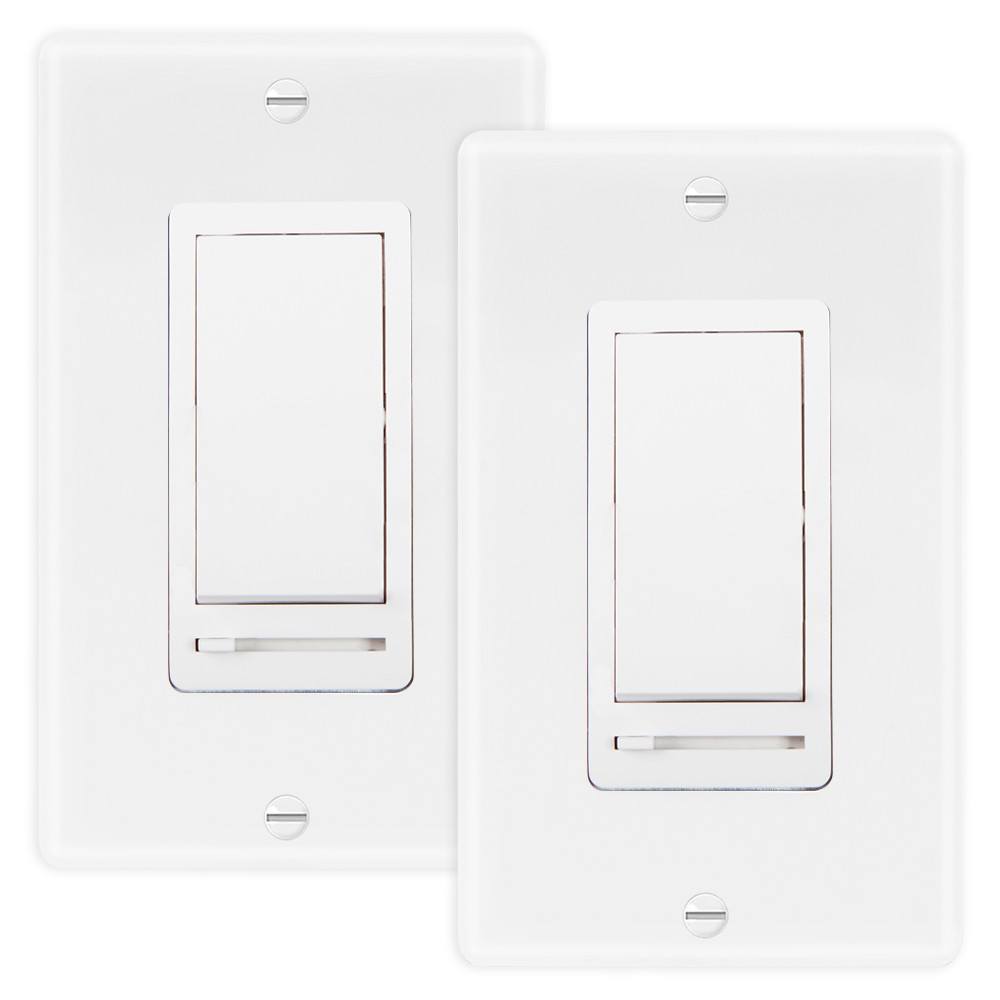
How to Install a Dimmer Switch
Add ambiance and save energy by replacing a standard switch with a dimmer. Works with most LED and incandescent bulbs.
View Full Guide
Steps
- 1Turn off power at the breaker and verify with a voltage tester
- 2Remove the existing switch cover plate and unscrew the switch
- 3Disconnect wires from the old switch — note which is hot (usually black)
- 4Connect the dimmer's green wire to the ground wire in the box
- 5Connect the dimmer's black wires to the hot and load wires using wire nuts
- 6Carefully fold wires into the box and mount the dimmer
- 7Install the cover plate, restore power, and test dimming function
- 8If lights flicker, check bulb compatibility — not all LEDs work with all dimmers
Products You'll Need
Check the dimmer's wattage rating vs your total bulb wattage. A 600W dimmer with 10 x 60W bulbs = exactly at capacity. Go one size up for safety.
If you have a multi-gang box with many wires, if the existing switch has more than 3 wires (excluding ground), or if you want a 3-way dimmer setup.
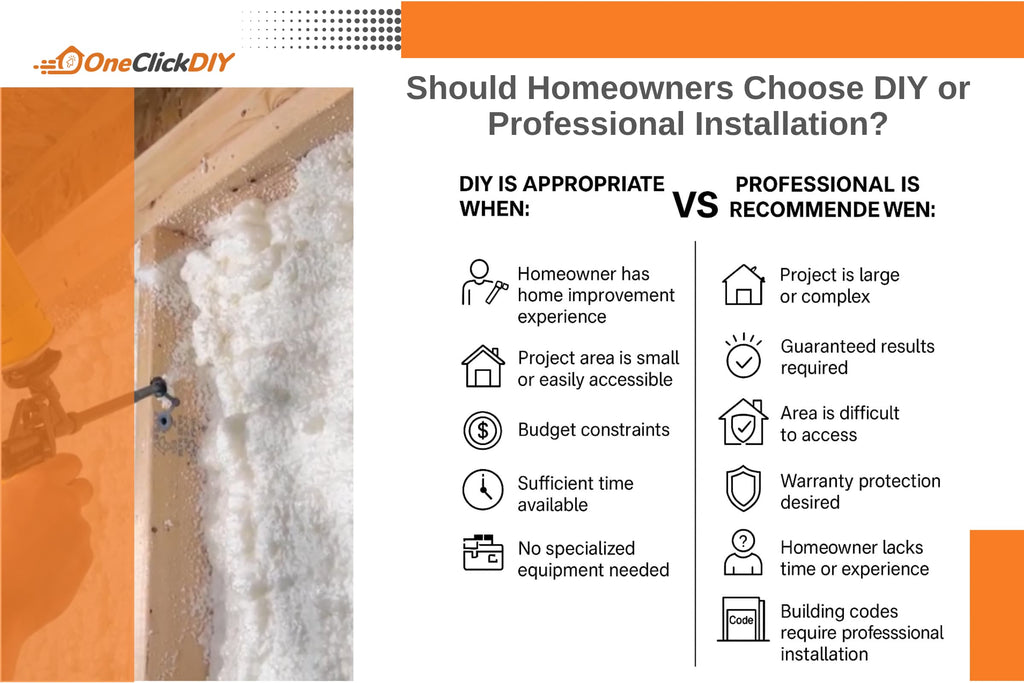
When to DIY vs. Call a Professional
Not every job needs a pro, but some absolutely do. Here's how to know the difference — and save money on the jobs you CAN do yourself.
View Full Guide
Steps
- 1DIY-SAFE: Replacing light switches, outlets, showerheads, smoke detectors, faucets, toilet handles
- 2DIY-SAFE: Installing wall plates, towel bars, door stops, cabinet hardware
- 3DIY-SAFE: Replacing garbage disposal (if same size and type)
- 4CALL A PRO: Anything involving the electrical panel or new circuits
- 5CALL A PRO: Gas line work — water heaters, ranges, dryers
- 6CALL A PRO: Plumbing behind walls or under slabs
- 7CALL A PRO: HVAC installation or refrigerant handling
- 8CALL A PRO: Anything requiring a building permit
- 9THE RULE: If you have to ask 'is this safe?' — call a pro. The $200 you save isn't worth the risk.
Even for DIY jobs, buy from us and get our warranty. If your DIY install goes sideways, our installation team can rescue it at a discounted rate.
When in doubt, use our Source It feature or request an installation quote. We'll tell you honestly if it's a DIY job or if you need professional help.
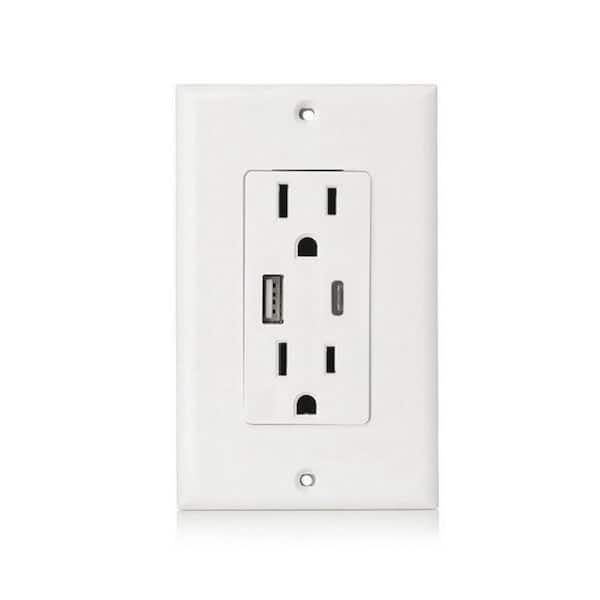
How to Install a USB Wall Outlet
Ditch the phone charger bricks. Replace a standard outlet with a USB-A/USB-C combo outlet for built-in fast charging.
View Full Guide
Steps
- 1Turn off power at the breaker panel and test with a voltage tester
- 2Remove the cover plate and unscrew the existing outlet
- 3Take a photo of the wiring configuration
- 4Disconnect wires from the old outlet
- 5Connect hot (black), neutral (white), and ground (green/bare) to the new USB outlet
- 6USB outlets are deeper than standard — carefully fold wires to fit
- 7Mount the outlet, install the cover plate, and restore power
- 8Test both USB ports and the regular outlets
Products You'll Need
USB outlets are bulkier than standard outlets. If the box is shallow or crowded, you may need a box extender. Check depth before buying.
If the box is too shallow for the USB outlet, if you find aluminum wiring, or if there are more than 4 wires in the box.